


Looking for help?
Find answers to your questions
Adjust the Display
Table of Contents
Required tools:
- 2.5mm Allen Wrench

Operation steps:
1. For the display, loosen the two bolts shown.
- Two fixing bolts on the display.

- For the remote, loosen the one bolt shown.

2. Adjust the display angle.
The adjustment of the angle depends on your height and sitting position.
-
-
Adjust the angle of the display to make sure you can see it while riding.
-
Optimize the screen angle to minimize glare.
-
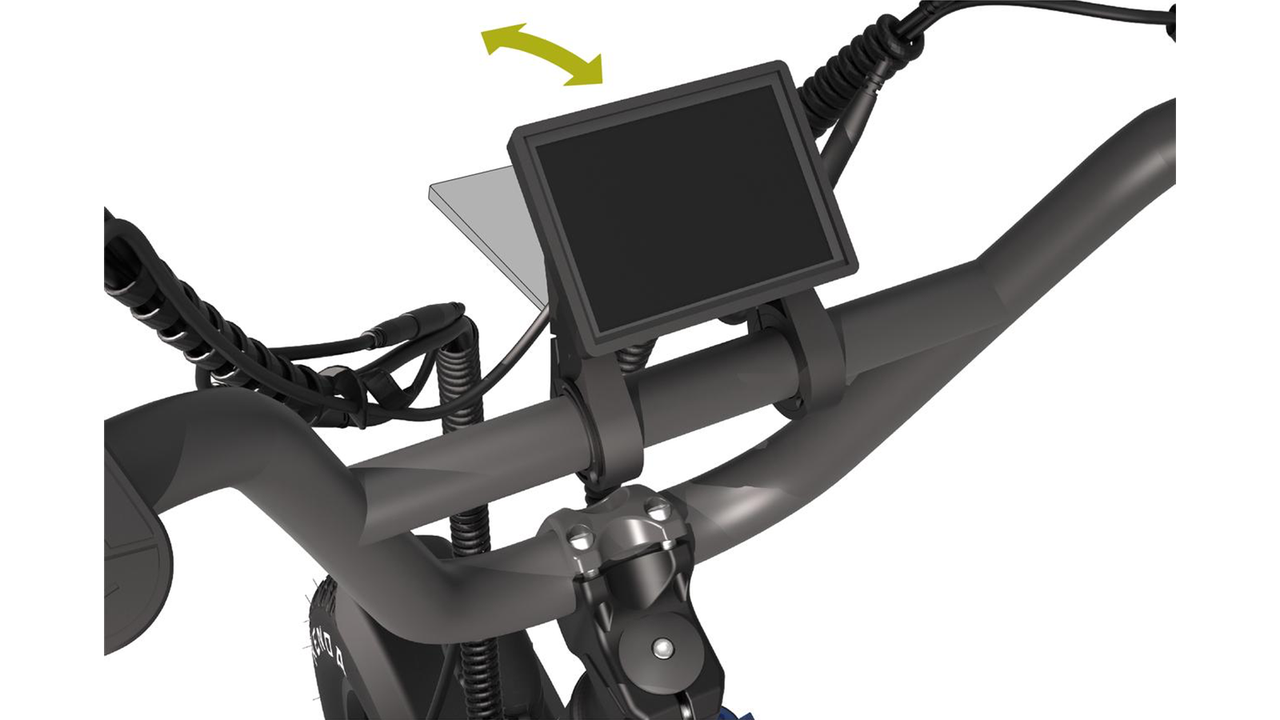
3. Adjust the display angle.
- Adjust the display's angle to ensure you can see it while riding.
- Optimize the screen angle to minimize glare.

4. Tighten the Allen bolts. Recommended torque: 3-5N/m.
TipsAfter installation:
- Check that the display works properly.
- Check that the display remote works properly.
Updated on 11 Dec 2023
What are your Feelings?
Thanks for your feedback.
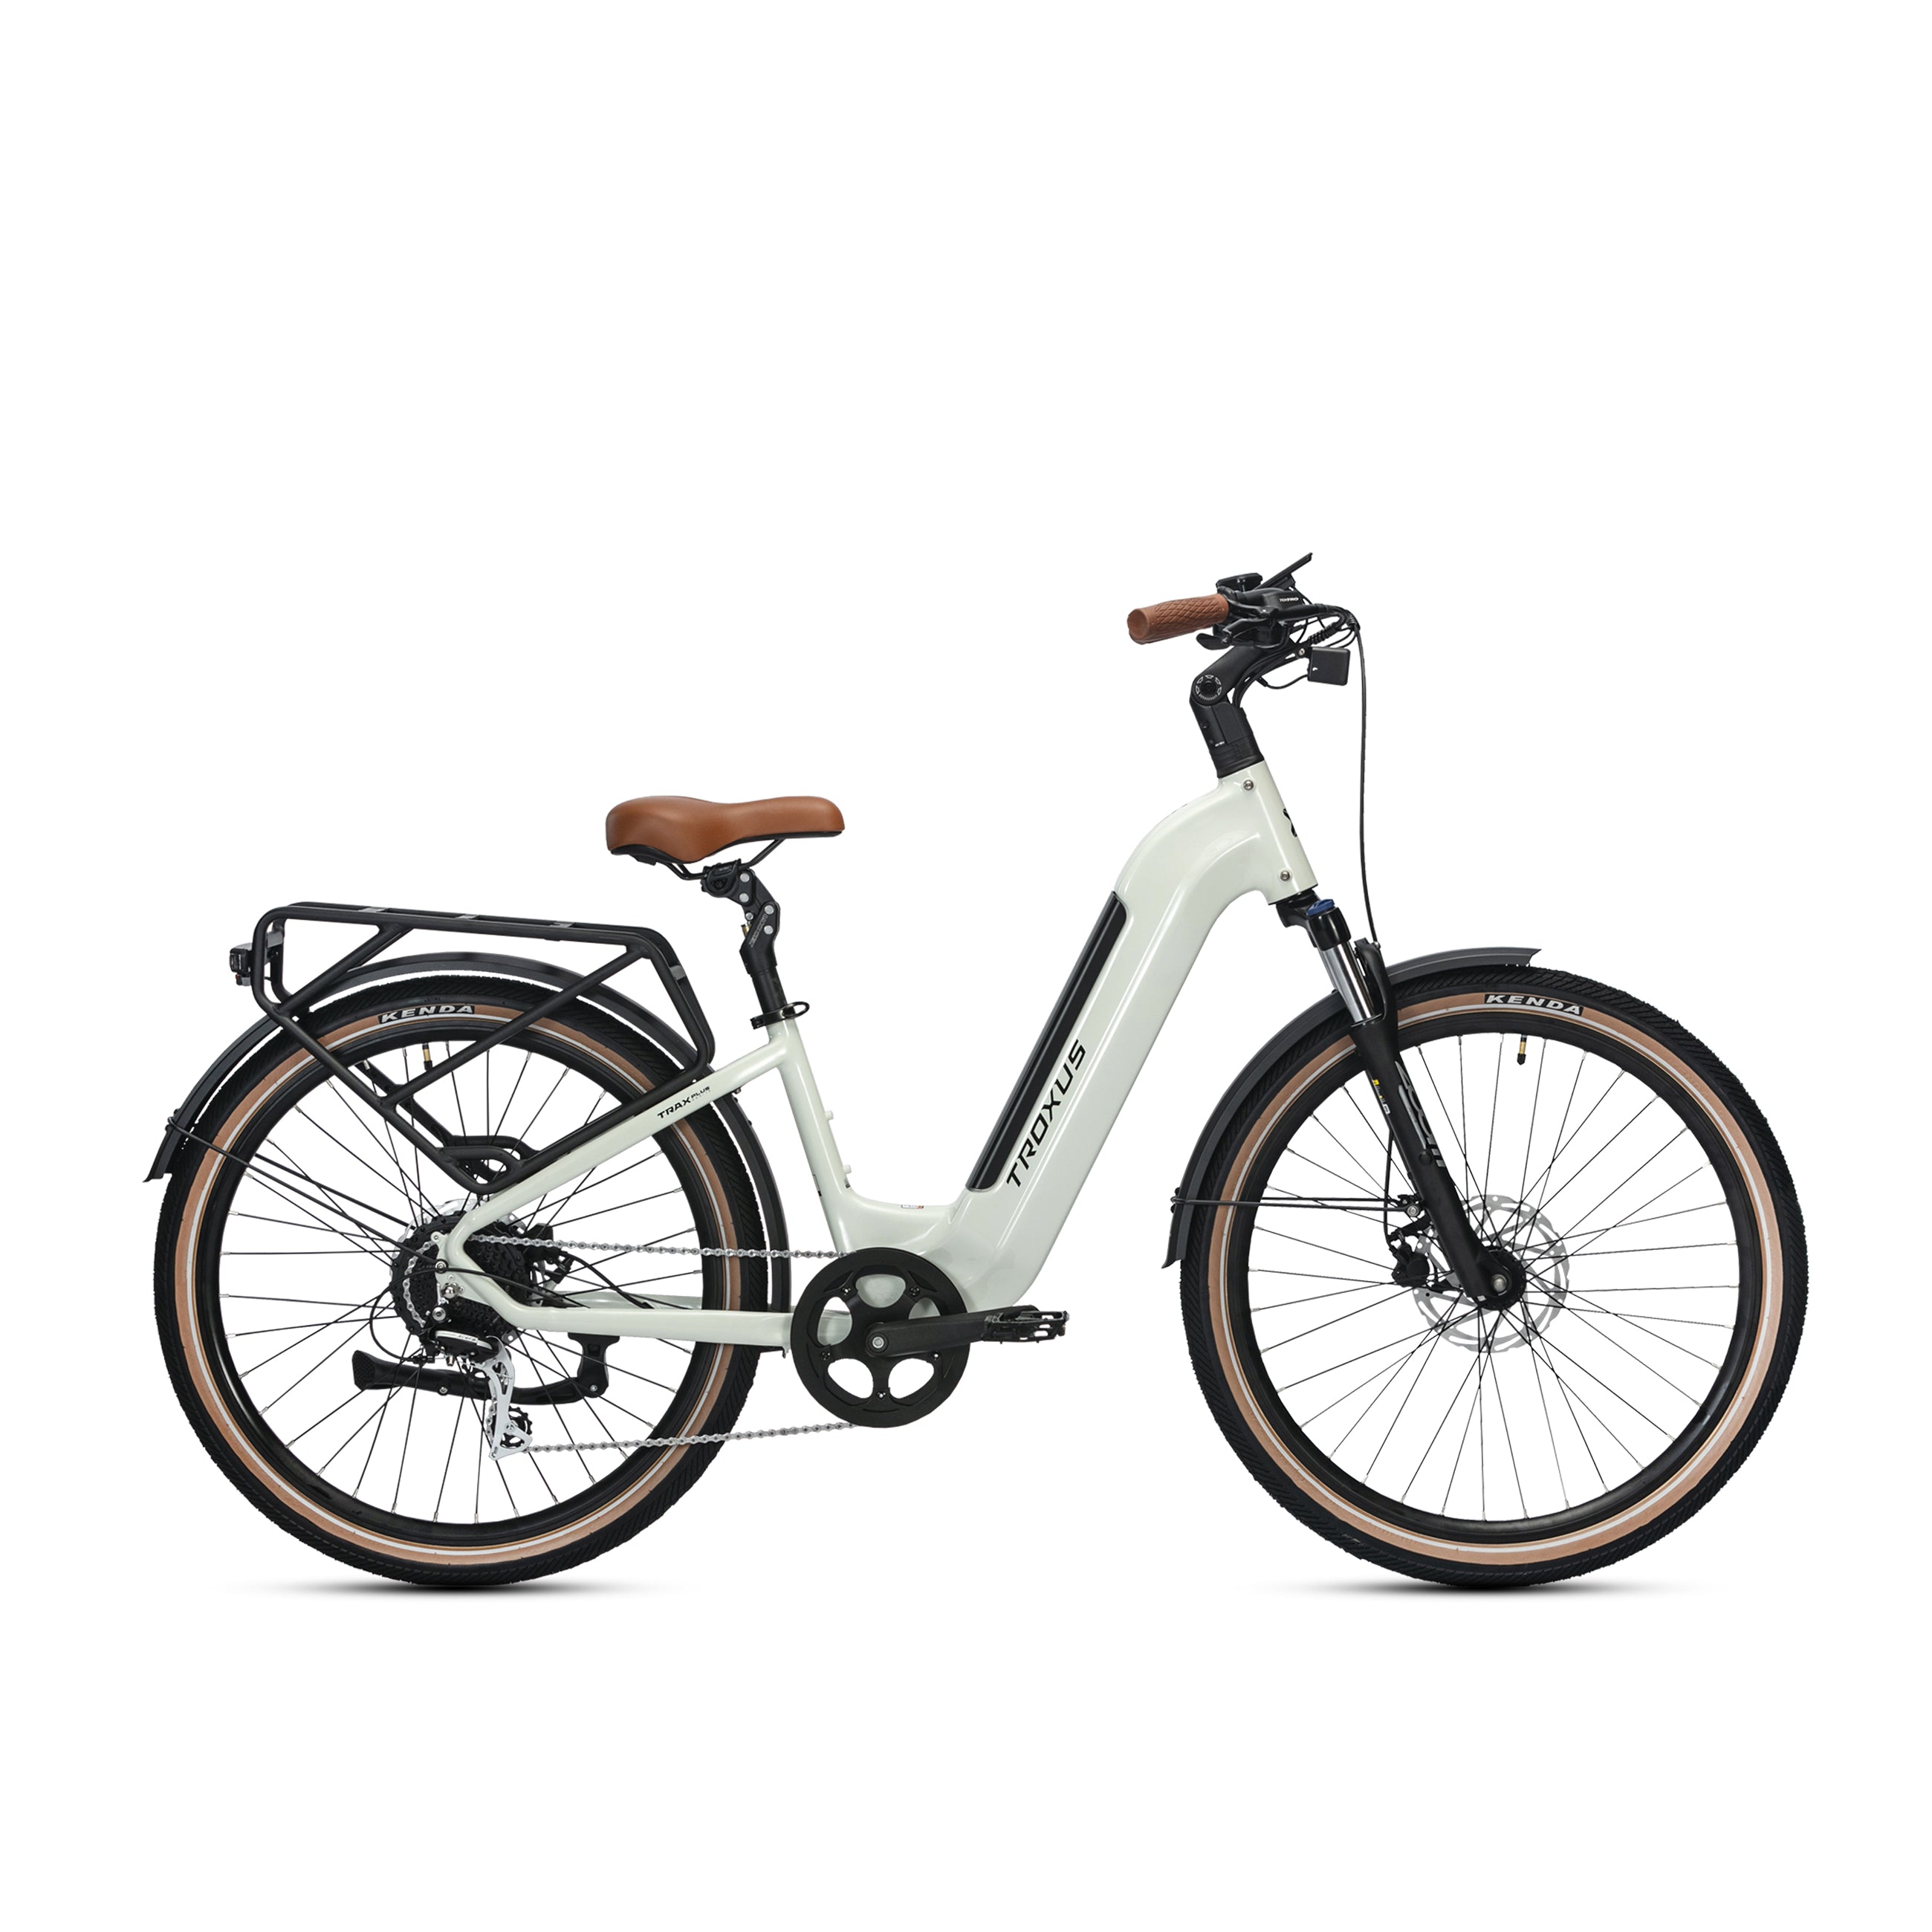
Test Ride
Find your perfect bike locally. Check online inventory for the fastest availability.
Shop LocallyLocal Pick Up
Shop online, ride today! Order your e-bike online and enjoy the convenience of picking it up the same day at the nearest store to you.
Shop E-BikesExclusive Warranty Benefits
All 2024 and newer e-bikes are backed by an exclusive 5-year limited warranty, while 2023 and older models are covered by our reliable 2-year standard warranty.
Learn MoreTotal Care+ Program
If your bike is damaged or involved in an accident, we’re here to help you work with your retailer to get back on the road, trail, or bike path quickly.
Learn more
Be the first to know
Subscribe now to unlock exclusive offers, latest product updates and more surprises.